


Set up your first screen
Start with one player and one display. Keep the remote control nearby. Ask your installer for help with network or Android settings if you do not normally manage those.
Connect the equipment
- Connect the Android player to the display using HDMI. Connect its power supply.
- Switch the television to the HDMI input used by the player.
- Connect the player to the cinema's network. A wired Ethernet connection is useful where available. If using Wi-Fi, check that the signal is reliable at the screen.
- Check Android's date, time and timezone. A wrong date can hide sessions or start an advertising campaign on the wrong day.
- Install Cinema Sign from the official APK download page, then open it once. An APK is the Android installation file.
- Read and accept the Terms of Use on the television. You need the remote for this first acceptance.
Installing on NVIDIA Shield with the remote
- Install Downloader by AFTVnews from Google Play, if your installer has not already provided an installation method.
- Open Downloader and enter
https://www.d-cine.net/cinema-sign-apk/get.php. - Choose the intended release and download its APK.
- If Android asks, allow Downloader to install apps from this source, then return to the installer.
- Complete the installation and open Cinema Sign. Android menu names can vary between firmware versions.
The Shield installation guide and detailed Shield setup notes contain additional installer checks. Installing the APK and allowing the app to start at boot are different jobs; complete both.
Open the control panel
- Find the administration address shown by Cinema Sign on the television. While the sign is playing, pressing the remote's OK, Menu or Back key opens player settings on supported remotes.
- Connect your phone or computer to a network that can reach the player. Guest Wi-Fi often prevents access to other devices.
- Open a browser and enter the entire address, including
http://and the port if shown. The usual form ishttp://PLAYER_IP:8888/. - Sign in with username
adminand passwordd-cine. - Check the player name and location before making changes.
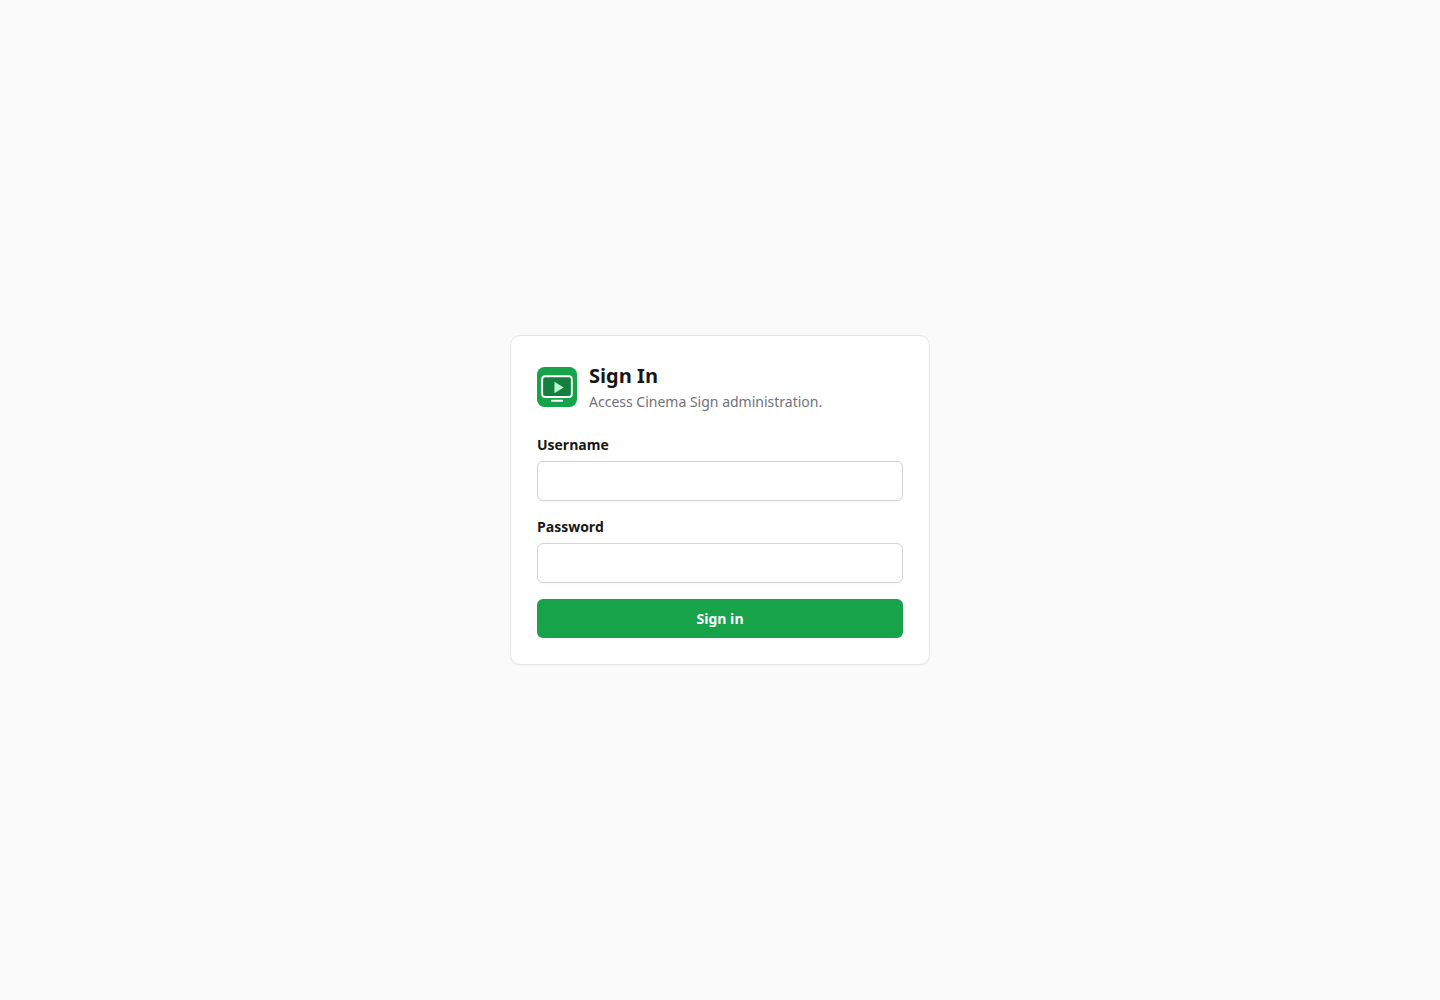
http://192.0.2.42:8888/ shows the format only. Replace the example with the address on your own player. If your installer provided a shorter address that works, use that.Make the first useful sign
- Open Settings → Player. Give the screen a clear name and location.
- Choose your Provider and enter its connection information, or choose Manual to enter films yourself.
- Save the settings. For an imported source, check Import Status and verify the films and sessions.
- Prepare at least one poster or trailer using the Films and media steps.
- Open Settings → Playlist and choose a suitable selection formula.
- Open Settings → Presentation. Choose Poster, Trailer or Session Times and the appropriate layout.
- Select Save changes and restart. Allow the update to finish, then check the physical display.
A new installation may show the public CinemaShowtimes demonstration programme. It is useful for testing the player, but it is not your cinema's programme. Replace it before displaying public session information.
Enable unattended startup
Open Settings → Device, set Start on Boot to On and follow the applicable Android permission messages. On a Shield, this normally includes allowing Cinema Sign to display over other apps and checking energy optimization. See Device settings before testing a restart.