

Complete interface and operations manual
A task-by-task reference for commissioning, ingest, show construction, automation, scheduling, playback, SDI, HUD monitoring and D‑Cine Display Lock. Labels in bold match the interface.
1. Commission and sign in
- Open the local player address in a supported browser and sign in. Monitoring, operating, scheduling, configuration and administration controls appear according to the account role.
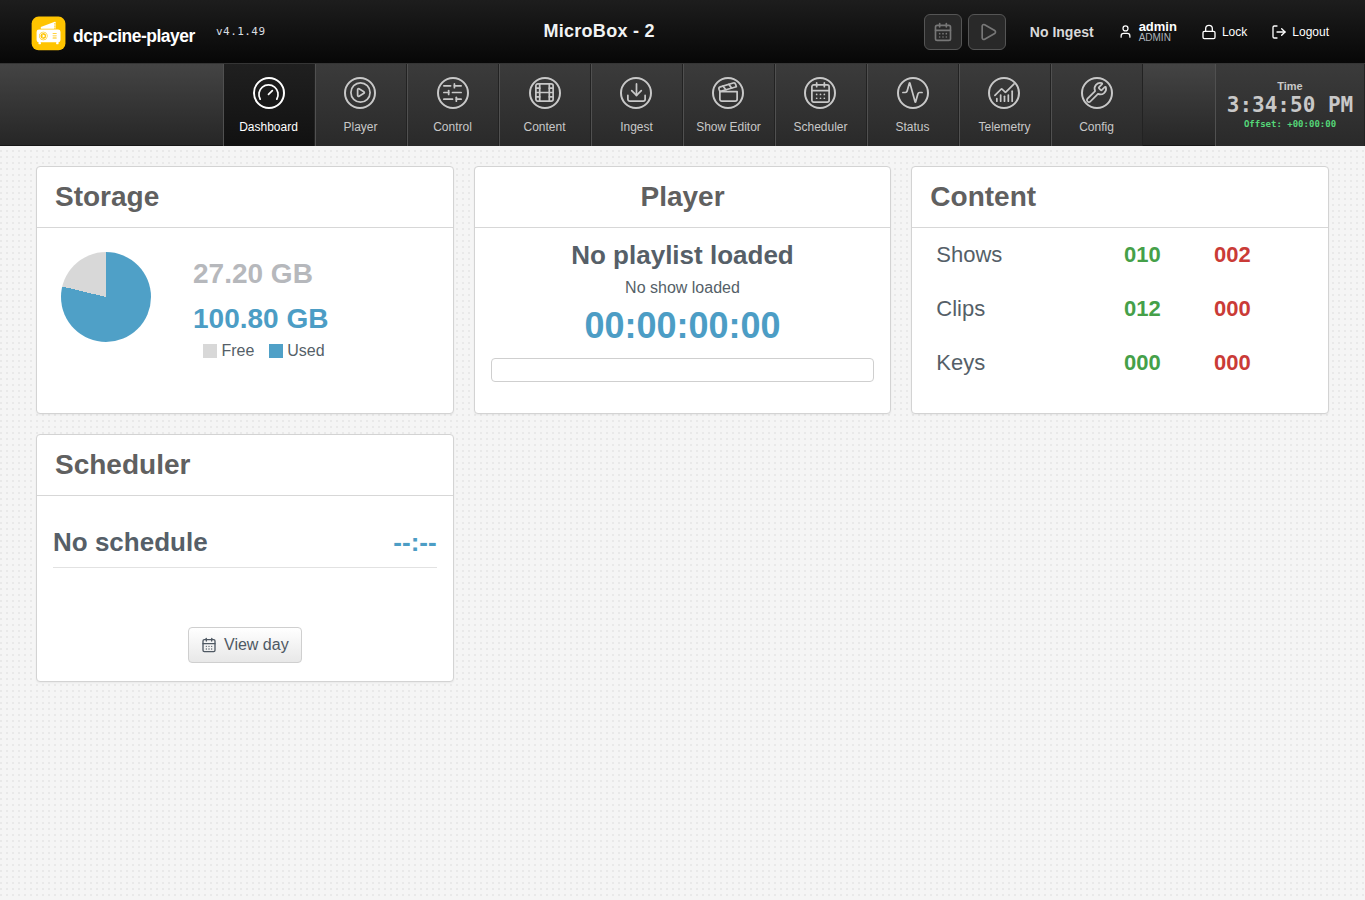
- On Dashboard, verify the player/site identity, licence state, available storage, database, clock, output and upcoming schedule before loading content.
- Open Config and set the venue timezone, display/output, audio device and storage paths. Keep system time synchronized: KDM validity and scheduled starts depend on trusted time.
- On a dedicated appliance, confirm the browser session opens automatically after reboot and that an administrator can still reach the operating-system recovery path.
- Use the top Lock control when leaving the console. This locks the web session; the adjacent Unlocked/DDL1/DDL2/DDL3 indicator is the separate protected-display status.
2. Understand the interface
The main navigation separates status, content, show preparation, live operation, scheduling, automation, logs and configuration. A red or amber state deserves investigation before playback. Browser refresh is safe for monitoring; it does not itself stop the playback service.
| Page | Use it for | Typical role |
|---|---|---|
| Dashboard | Health, storage, licence, clock and next events | All users |
| Content / Ingest | Libraries, KDMs, sources, copy progress and readiness | Operator |
| Show Editor | Reusable ordered playlists with content and cues | Operator/manager |
| Player | Load, preflight, play, pause, seek, stop and monitor | Operator |
| Scheduler | Calendar entries and automatic starts | Scheduler/manager |
| Automation | Live auditorium controls and current device state | Operator |
| Config | Devices, outputs, DDL, upgrades and system setup | Administrator |
3. Configure ingest points and ingest content
- Open Content → Ingest and add a filesystem, removable-media or FTP source.
- Assign exactly one source type: DCP, IMF, EAR, media or KDM. This prevents ambiguous package discovery and determines validation and storage.
- Enter the source path or FTP details, test access, then scan. Review the discovered package/composition rather than copying an unexplained directory.
- Select the wanted compositions and start ingest. Keep removable media attached and watch progress through validation and finalisation.
- Open Content, search for the title and inspect duration, resolution, sound, subtitles, encryption, KDM window and readiness. Type is also shown graphically beside the title.
The read-only FTP library exposes completed assets beneath /DCP, /IMF, /EAR and /media. EAR packages deliberately use ASSETMAP_EAR.xml and VOLINDEX_EAR.xml, preventing ordinary DCP scanners from treating them as DCPs.
Supported content behaviour
- DCP: SMPTE/Interop CPL discovery, JPEG 2000 picture, multichannel sound, timed text and KDM checks.
- IMF: AssetMap and IMF CPL discovery; unencrypted compositions play through the implemented FFmpeg path. Encrypted IMF is detected and fails closed pending qualified IMF key delivery.
- EAR‑Tech: D‑Cine AES‑256‑GCM encrypted-at-rest media with KDM authorization and no clear temporary playback file.
- Media: MOV, MP4, MKV and other containers/codecs supported by the audited FFmpeg build.
4. Make and edit a show playlist
- Open Show Editor. In the Shows tab, search for an existing show or choose New, enter a unique operational name and save.
- Search the clip/content list. Add items in running order; use the type graphic to distinguish DCP, IMF, EAR and ordinary media.
- Drag items into the required order. Add Black for controlled blank picture or Delay for an intentional timed pause.
- Add automation cues or macros at the required item boundary or time offset. Choose whether the offset is relative to the start or end, then use the timecode field at the configured frame rate.
- Review total duration, each item’s readiness and cue timing. Save, leave the show, reload it, and confirm the stored order.
- Load the show into Player and perform a preflight/rehearsal before scheduling it.
Playlist design rules
- Use stable names such as auditorium, event, date/version and language; avoid names that differ only by punctuation.
- Put house/light/sound-format cues where their operational effect is obvious. Prefer a tested macro when several devices must change together.
- Allow time for projector, masking and audio-format transitions. Do not assume a network cue completes instantly.
- Never schedule an untested edit over an active show. Duplicate or version a show when preserving the existing schedule matters.
5. Configure automation cues and macros
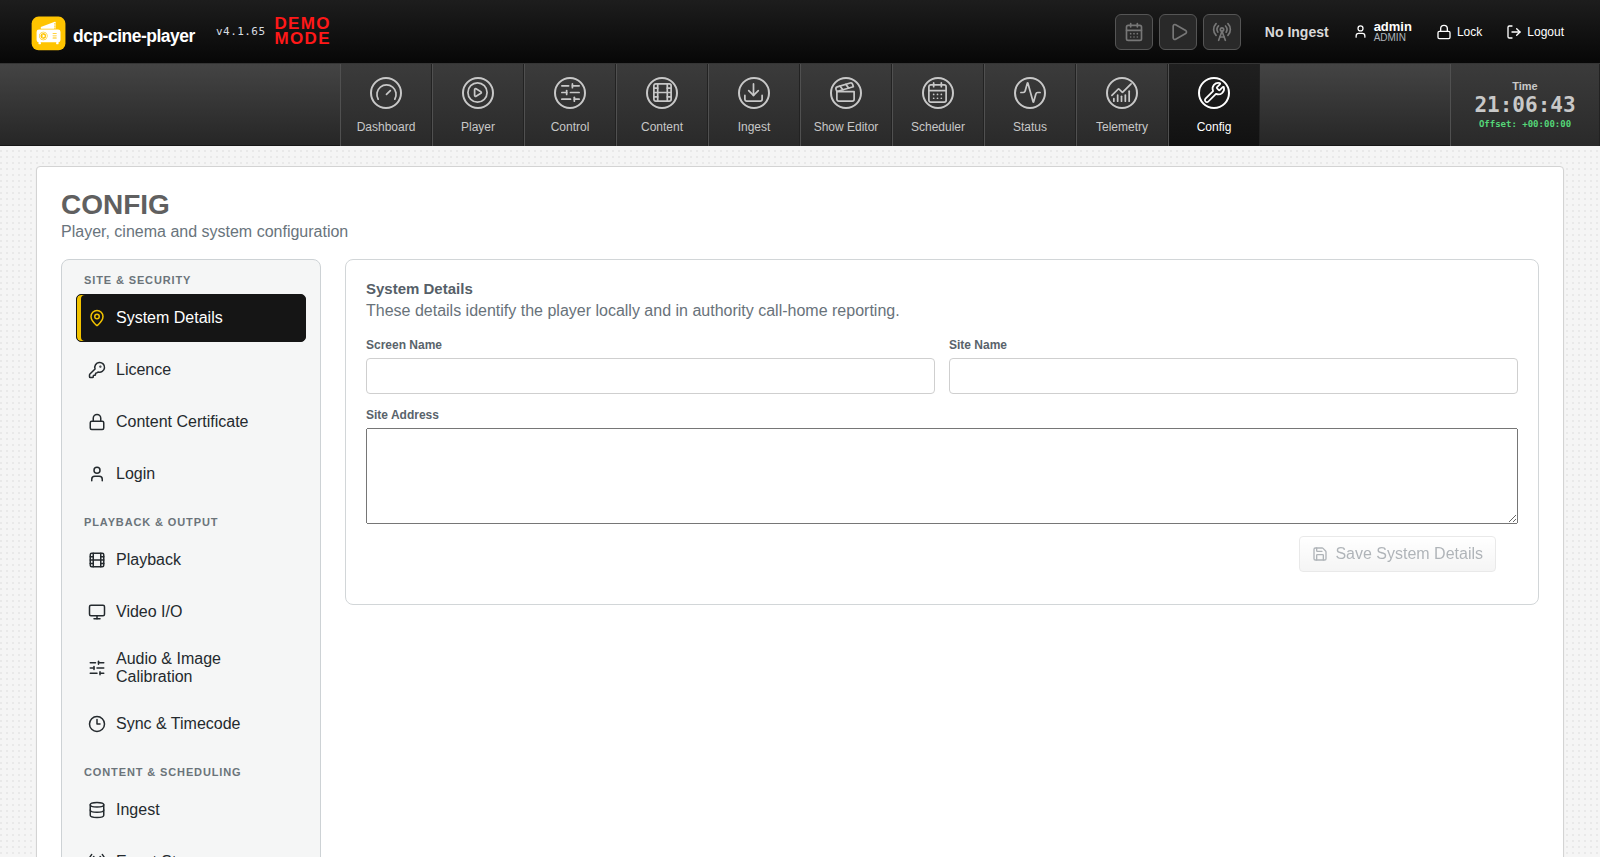
Open Config → Automation. The guided pages and XML view describe one underlying configuration. Make a backup before a large XML edit.
- General: set the frame rate used to interpret cue timecodes and review validation.
- Devices: create the auditorium endpoints. Select the supported transport/message type and enter address, port/base URL and connection values. Give each device a clear functional name.
- Cues: create individual commands, assign classification/category and target device, then supply its message, endpoint and arguments. Use Send now only when the auditorium is safe to move or change.
- Macros: add cues in execution order and use step delays where equipment needs settling time. Save and test the macro from the live Automation page.
- XML: use for review, controlled bulk editing or source-controlled deployment. Resolve every reported line error before saving.
- External triggers: map each unique incoming command to a cue or macro. Restrict the trigger network and document the sending system.
Using live automation
The Automation page groups cues by auditorium, audio and display classifications. It can expose common operations such as volume steps and mute state, plus a searchable full list and macros. Fire a harmless cue first after configuration changes. A success response means the configured transport completed; confirm the physical device actually reached the intended state.
6. Make and operate schedules
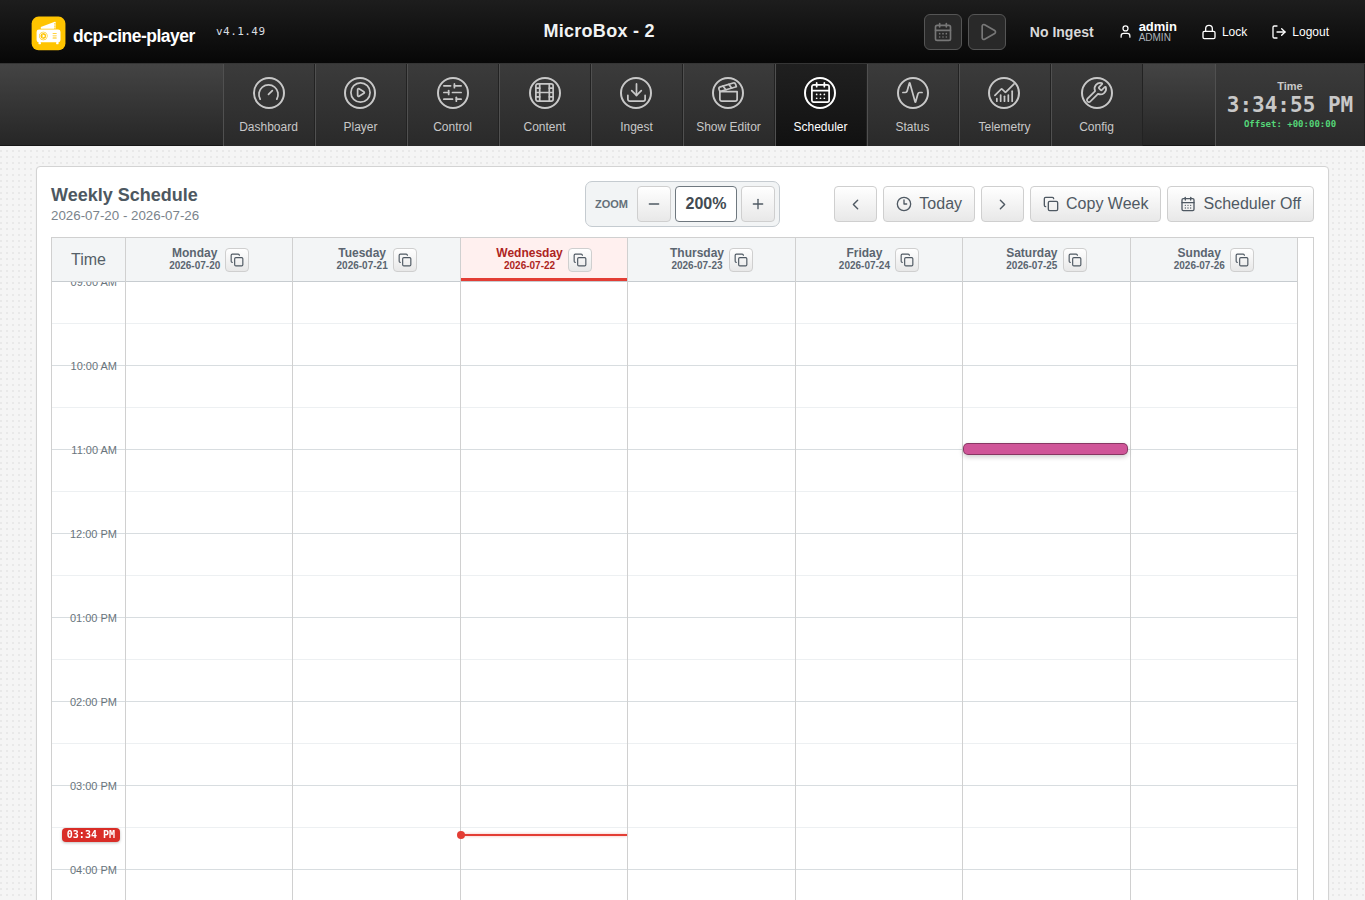
- Save and preflight the playlist first, then open Scheduler.
- Navigate to the required week and add the playlist at its local start date and time. Check that the timezone shown by the player is the venue timezone.
- Inspect the calculated end time and remove overlaps. Include operational turnaround between shows.
- Use Copy week only after checking exceptions, private hires, maintenance and daylight-saving changes in the destination week.
- Enable the scheduler after all entries are correct. A disabled scheduler retains entries but does not automatically start them.
- At start of day, compare today’s calendar with the venue programme. Monitor automatic load/start events and investigate any readiness warning before showtime.
Playback, ingest, upgrades and near-term scheduled starts interlock where necessary. Do not rely on a software schedule as the only record of a critical live event; maintain the venue’s normal operating plan and escalation contacts.
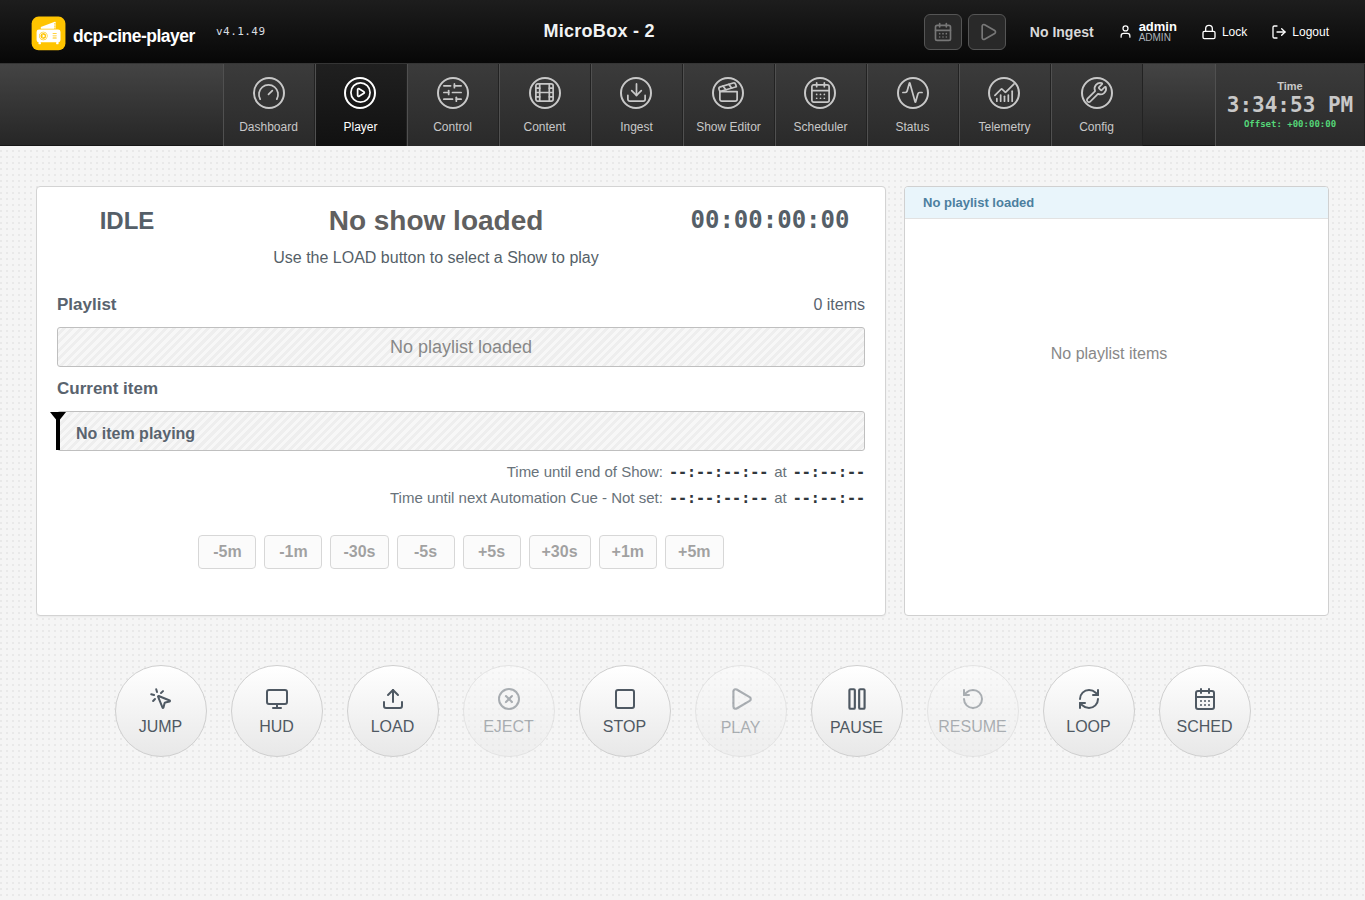
7. Use the Player page
- Select and load a saved playlist. Read preflight results for missing content, invalid KDM, unsupported IMF encryption, output protection and automation references.
- Confirm the intended first item and output, then press Play. The active row follows playback automatically.
- Use pause or seek only when the programme and venue procedure allow it. Seeking can cross timed automation; verify whether a cue must be fired manually afterward.
- Use Stop for an intentional end or fault response. Confirm the auditorium state—picture black, sound muted, lights or shutter—rather than assuming stop performs every external action.
- Monitor current item, elapsed/remaining time, playlist position, audio state, output protection and automation notifications.
8. Picture, HUD, audio and SDI
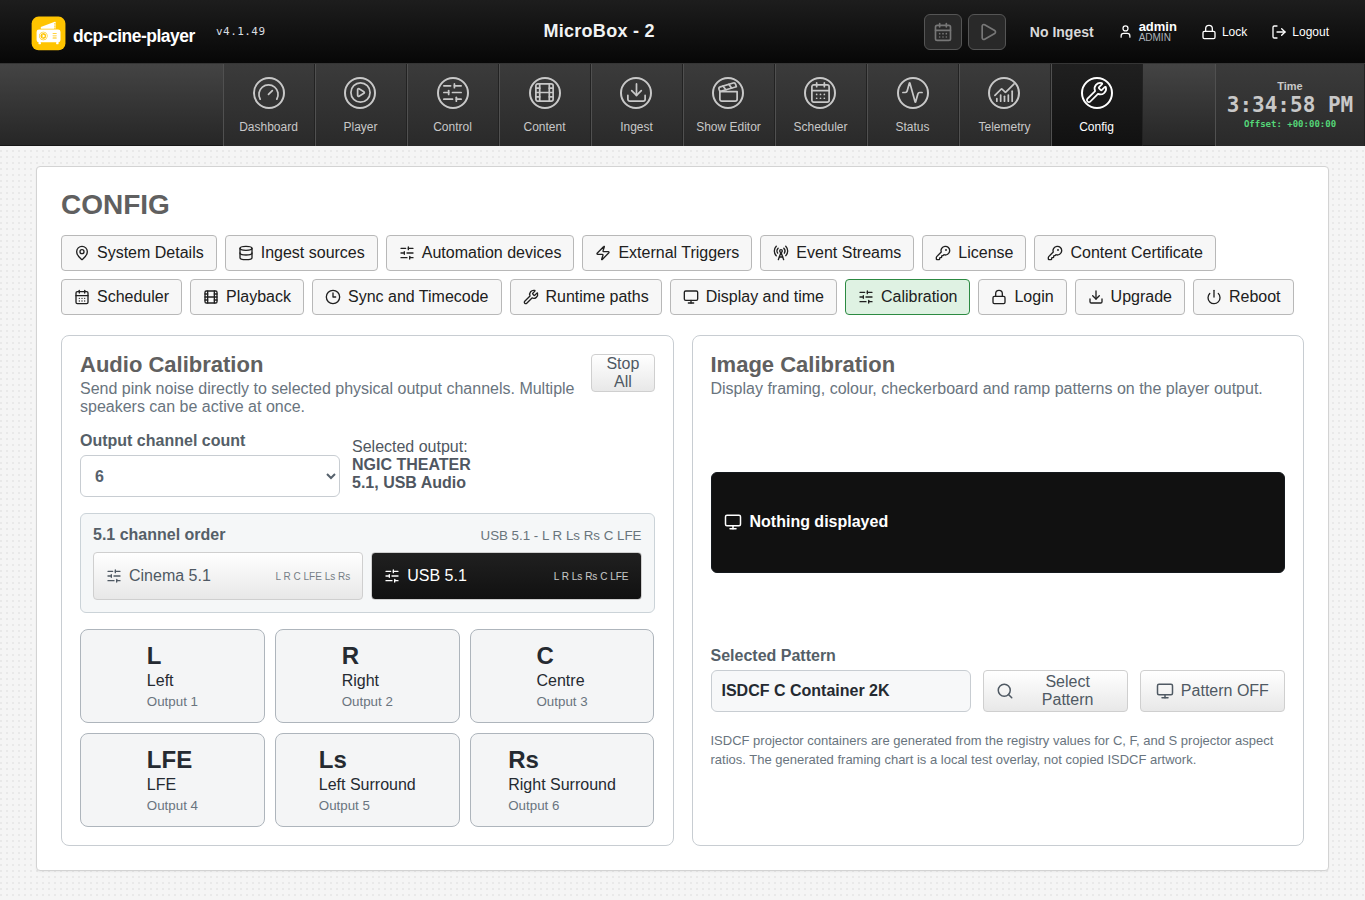
Display and HUD
Select the protected display/output in configuration and use fullscreen for presentation. Press h in the playback window to toggle the HUD, or start with --hud. Press ? for the keyboard overlay, Escape for fullscreen/windowed, n/p for next/previous, r to restart and Shift+Q to quit. The persistent HUD shows label, FPS, dropped frames, CPU history, configured/active JPEG 2000 decode mode, workers, DCP bitrate, audio level and decoded-buffer history. Yellow/red bitrate and low-buffer samples flag pressure before visible failure. Disable overlays for public playback and use picture patterns to check the final display path.
Audio
- Select the physical output device and a profile matching the cinema processor/channel order.
- Review every matrix route and gain before enabling live preview.
- Use channel identification one speaker at a time and at a safe level.
- Name venue-specific profiles clearly, save them, then verify sync, routing and level with representative content.
DeckLink SDI
Where the player was built with the staged Blackmagic DeckLink SDK and compatible hardware is present, configuration lists supported SDI output modes and live SDI input controls. Select a mode matching the downstream resolution/frame rate, verify link and audio mapping, and rehearse start/stop. SDI output is for unencrypted playback: protected DCP/EAR workflows requiring HDCP/DDL must use the protected display path. Driver/firmware compatibility and the exact model’s supported modes remain part of commissioning.
9. Set up and operate DDL
- Connect and power the final display chain, select its connector and wait for HDCP authentication.
- Open Config → Display & Time. Enter an Authority username/password whose account has permission to manage DDL screens.
- Enter a friendly display name and choose the requested level. DDL2 uses the EDID fingerprint. DDL3 is selectable only if an authenticated receiver identity is available.
- Enroll and verify the achieved level, screen ID, connector, manufacturer/model/serial details, EDID SHA‑256 and status in the full-width table.
- To remove a display, choose Remove, enter authorized credentials in the confirmation dialog, and verify the removal audit entry.
The header reports Unlocked, DDL1, DDL2 or DDL3. A KDM requests its level using an uppercase DDL1, DDL2 or DDL3 marker in signed AnnotationText as detailed in the DDL guide. Authority retains authorization activity for two years and records player serial, requested/achieved level and display identity where available.
DDL3 driver installation
Open Config → Upgrade → DDL3 Driver Support. Installation is offered only on amd64, with Secure Boot disabled, an explicitly qualified AMD PCI ID, a published signed package and an idle player. The action downloads and verifies the separate package, installs/selects the pinned -dcp kernel and reboots. The stock Ubuntu kernel remains a GRUB recovery choice. After reboot, DDL3 becomes active only when the live authenticated-identity interface validates successfully.
10. Upgrade, logs and recovery
- Open Config → Upgrade, refresh the signed catalogue and compare installed and available versions.
- Read release notes, ensure playback/ingest and near-term schedules are idle, then install. The player verifies the manifest, package signature, SHA‑256 and package identity before privileged installation.
- After restart, confirm the installed version, dashboard health, content database, output, audio, automation and schedule.
- Use operational logs for playback, ingest, automation, scheduling and DDL investigations. Authority’s DDL Activity links a player serial to its licence record where permitted.
- If an appliance fails after a DDL3-kernel boot, select the retained stock Ubuntu kernel from GRUB recovery and collect logs before retrying.
11. End-of-day checklist
- Confirm the next operating day’s schedule and scheduler state.
- Stop unintended playback/live input and return auditorium automation to the agreed state.
- Review errors, expiring KDMs, low storage and failed ingest.
- Lock the web session; do not power down a player that is expected to ingest, update or start automatically.
For focused procedures see daily operations, IMF, EAR‑Tech, security and troubleshooting.
Documentation edition: 6 September 2026. Check procedures against the installed release and venue policy.