


Add films and prepare posters and trailers
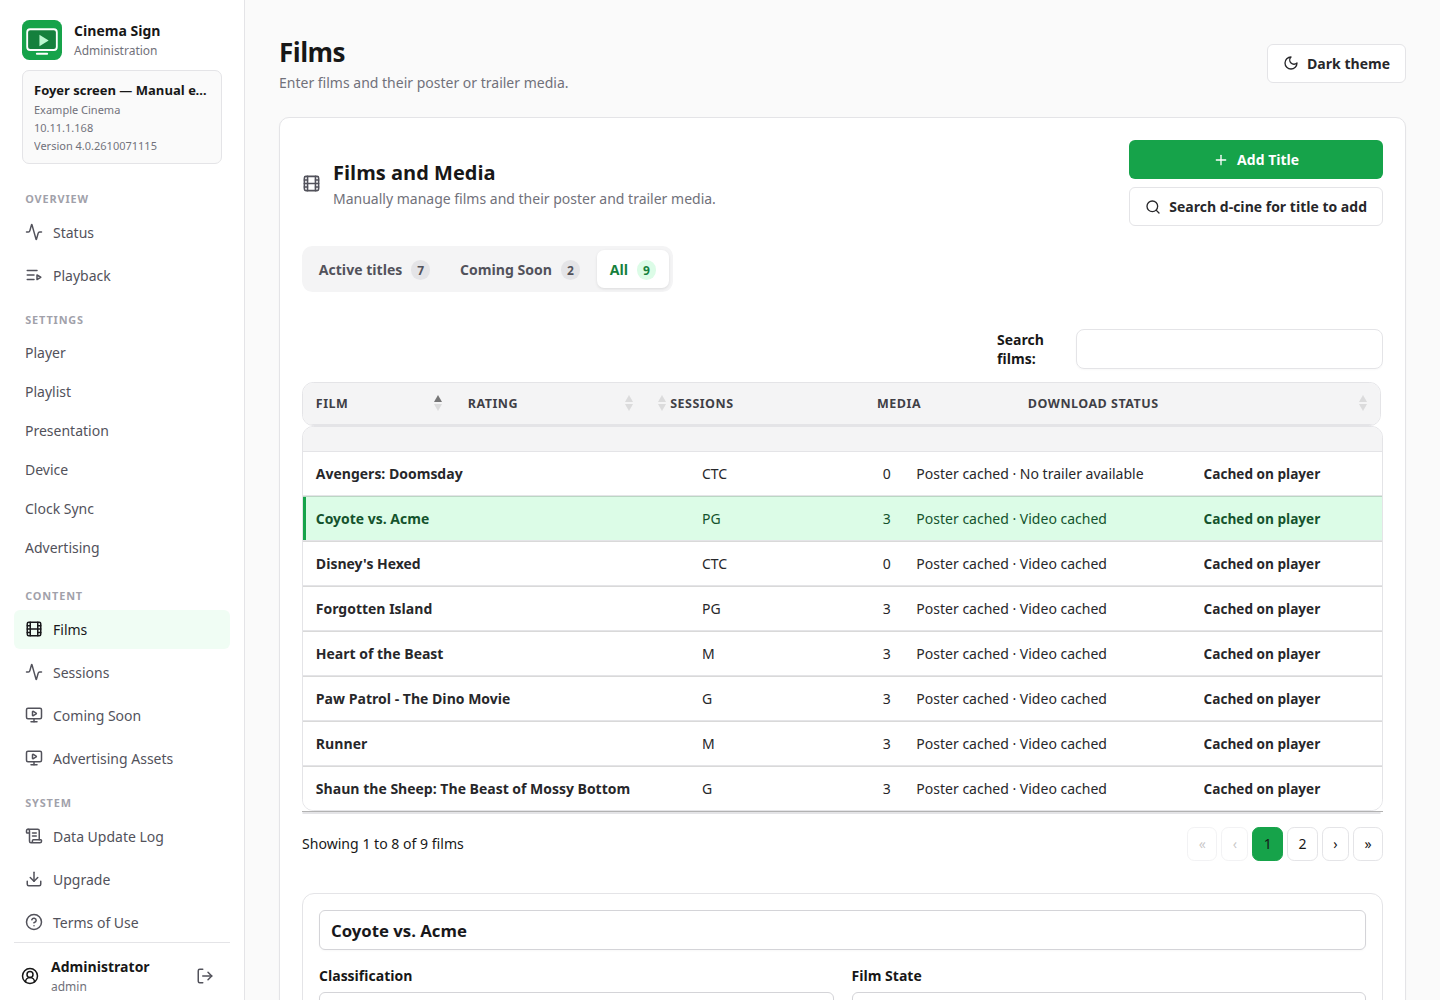
In Manual mode, open Films. With an imported provider, open Films and Media. Select a film in the table to show its editor below. Search and page controls help with a long list.
Add a title manually
- Choose Settings → Player → Provider → Manual and save if you will manage the programme yourself.
- Open Films and select Add Title.
- Enter the full film title and select OK.
- Select the new title in the table. Check its classification and enabled state.
- Add or select its poster and trailer, then enter sessions or mark it Coming Soon as required.
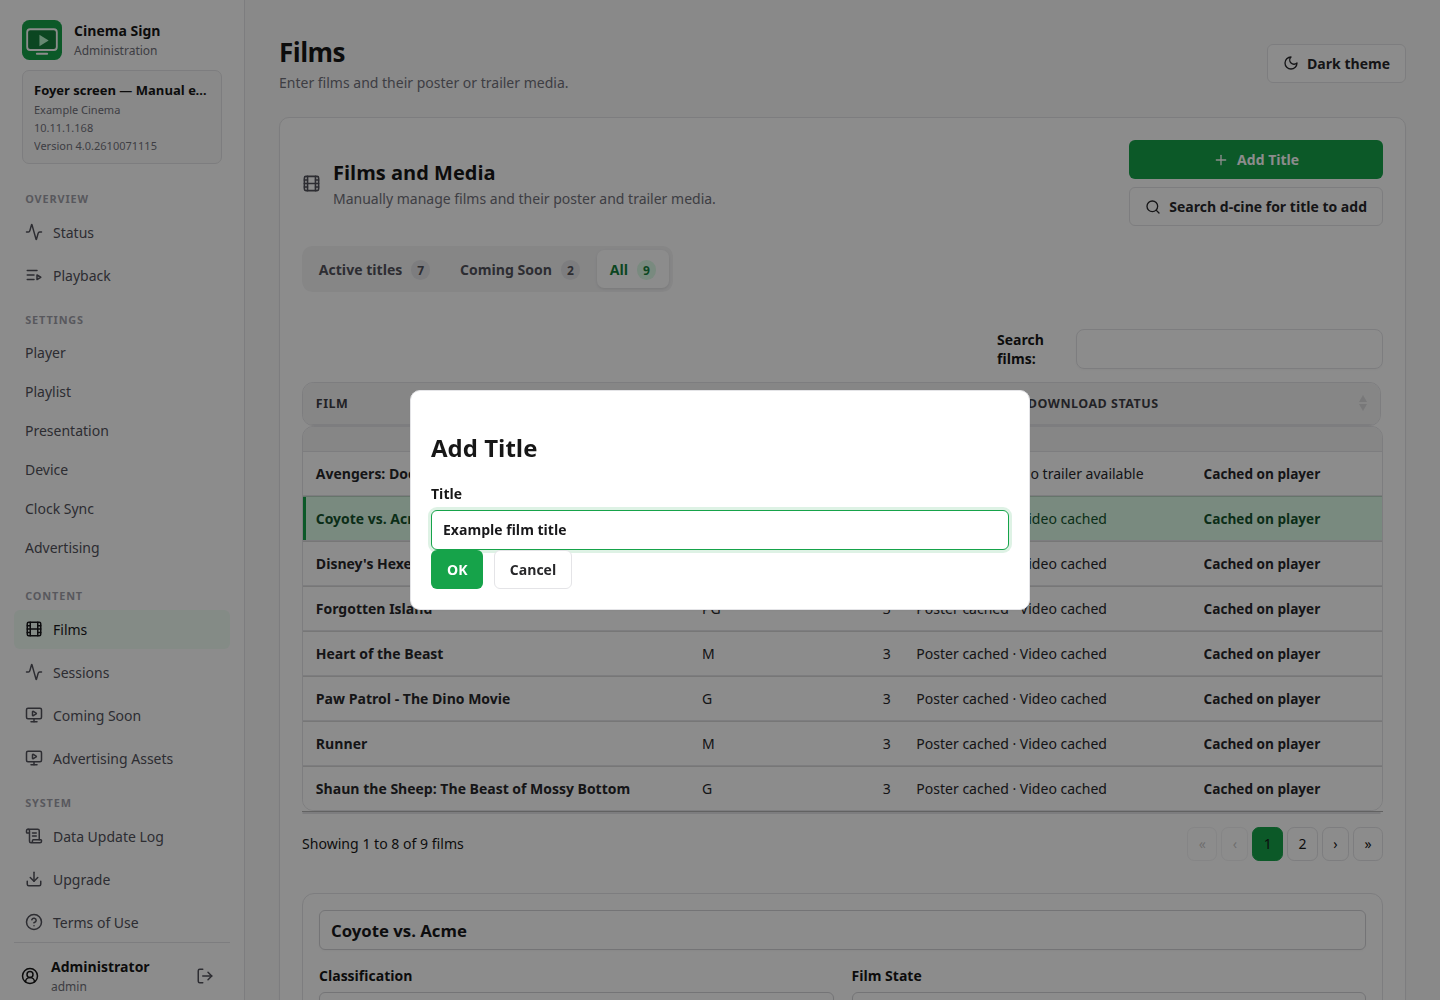
Add Title does not download a poster or choose a trailer automatically. This is useful when you want to upload your own media or control the exact trailer used.
Find a film in the d-cine catalogue
The d-cine catalogue is an optional service for finding film information and media. Configure your Media API key under Settings → Player. Create an account at admin.d-cine.net and use the key shown on your Profile page. The media-key fields are shown for external sources; configure the key before switching to Manual if needed. The key is separate from the default local control-panel password.
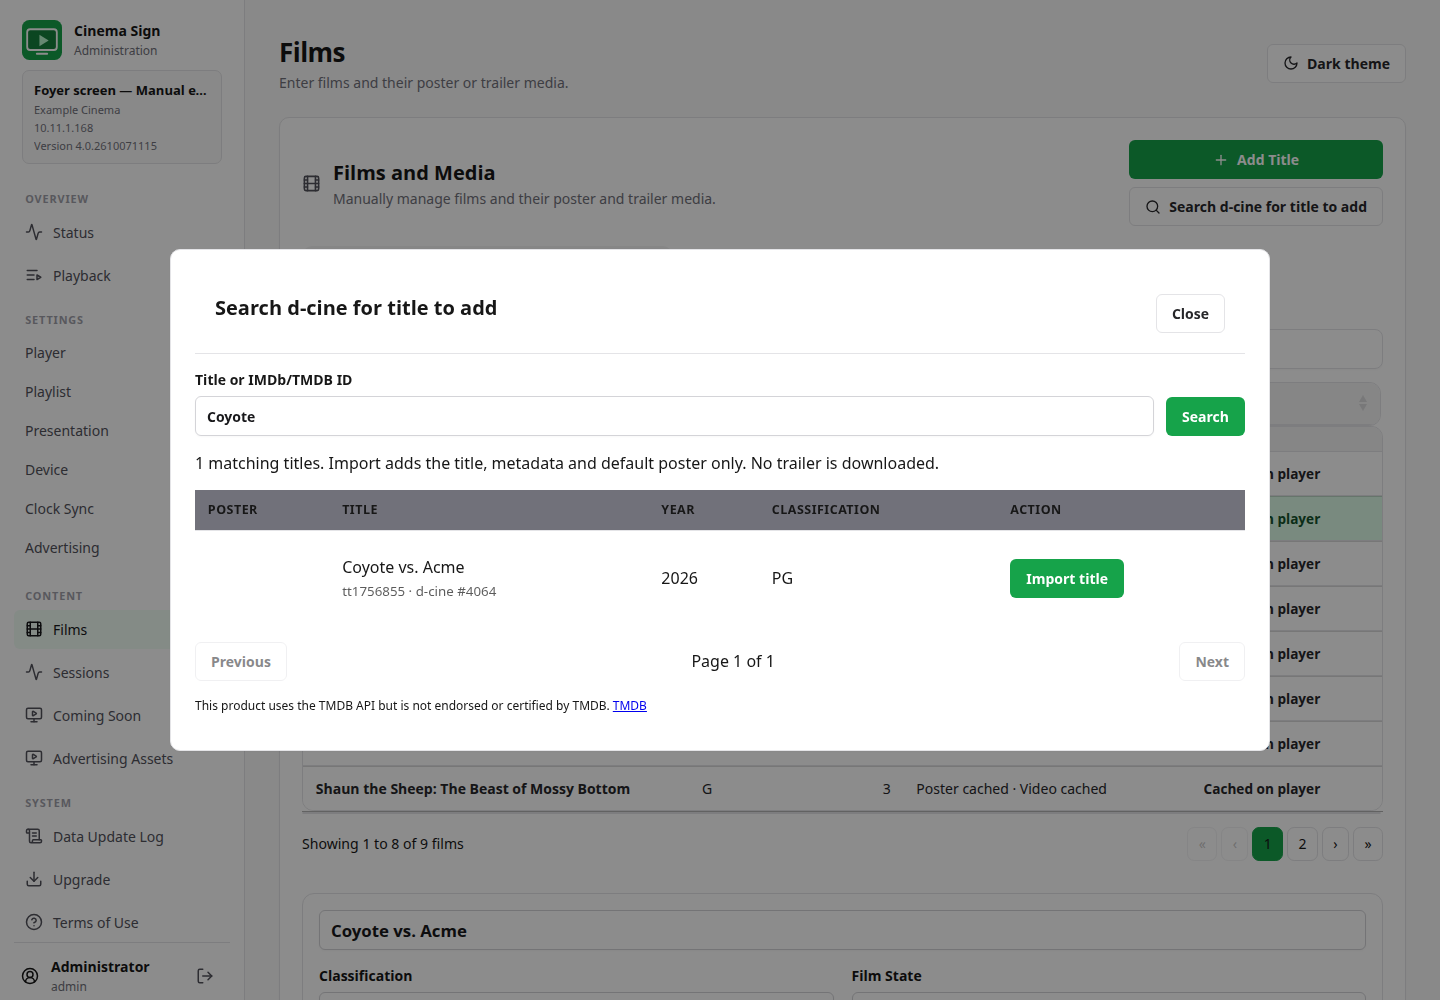
- On Films, select Search d-cine for title to add.
- Enter the film title, or an IMDb/TMDB identifier when you have one.
- Select Search. Check the film's year and classification, especially when titles have similar names.
- Select Import title on the intended result.
- Wait for its default poster to download. Select a trailer separately if the screen will play trailers.
Choose the poster you actually want
- Select the film in Films or Films and Media.
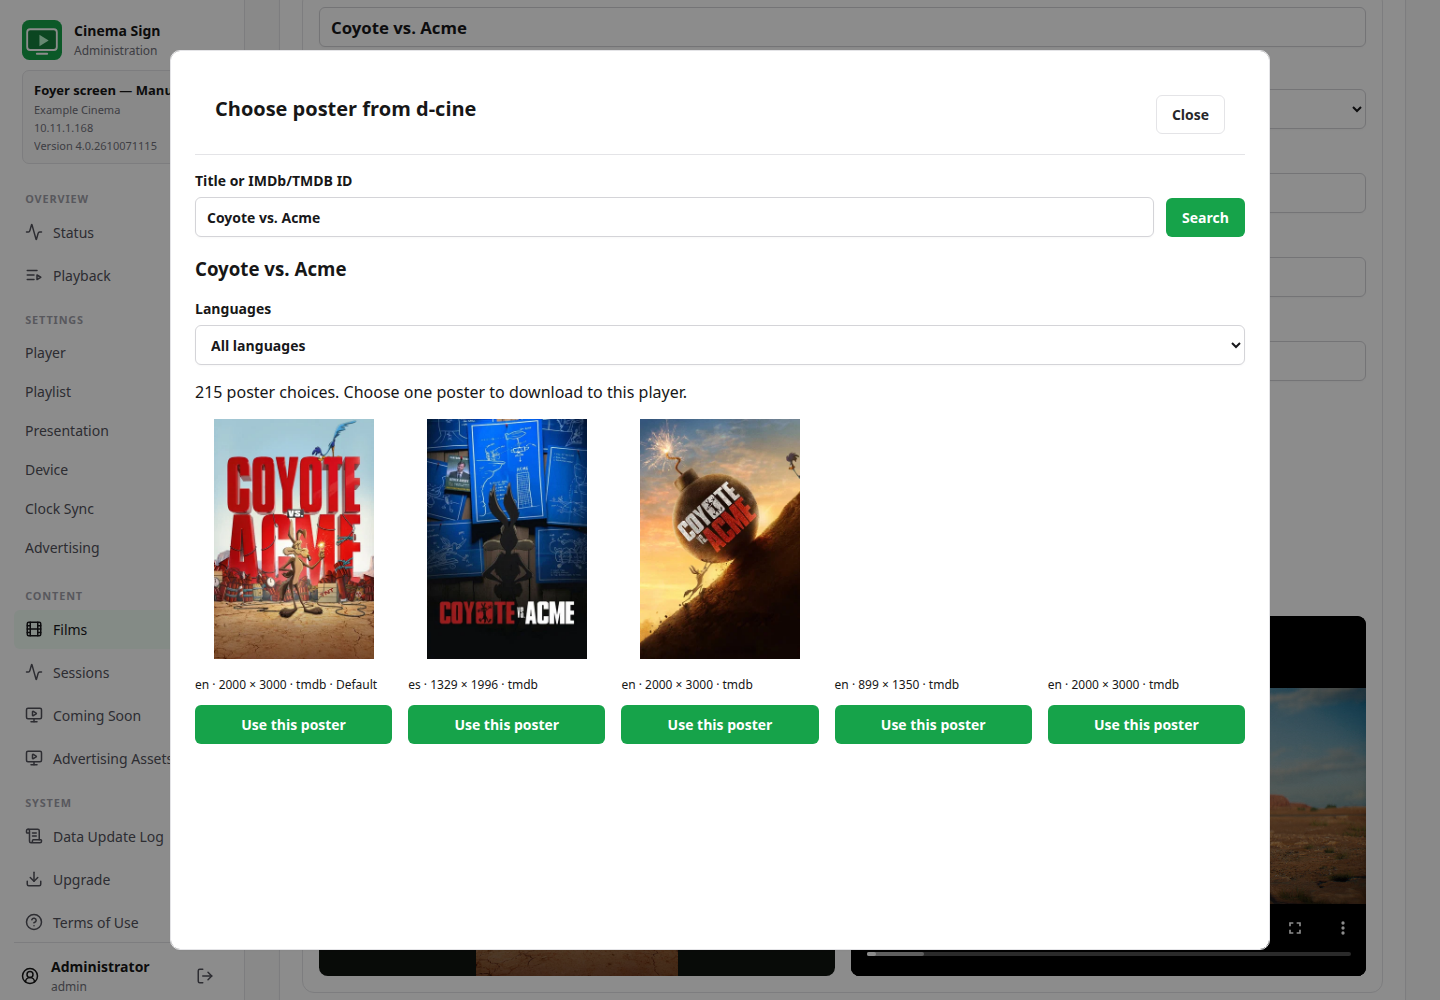
- Select Find poster on d-cine.
- Search for and select the correct catalogue title if asked.
- Review the available artwork, language and dimensions.
- Select Use this poster on the intended image.
- Wait for the download to finish, then check Poster currently on player.
Choose a trailer deliberately
- Select Find trailer on d-cine.
- Select the correct film and review the language, format and available previews.
- Choose a downloadable video using Use this trailer.
- Wait for the download to finish. Check Trailer currently on player and watch a representative part of it.
- Confirm audio level, correct film/version and any start/end offsets before public playback.
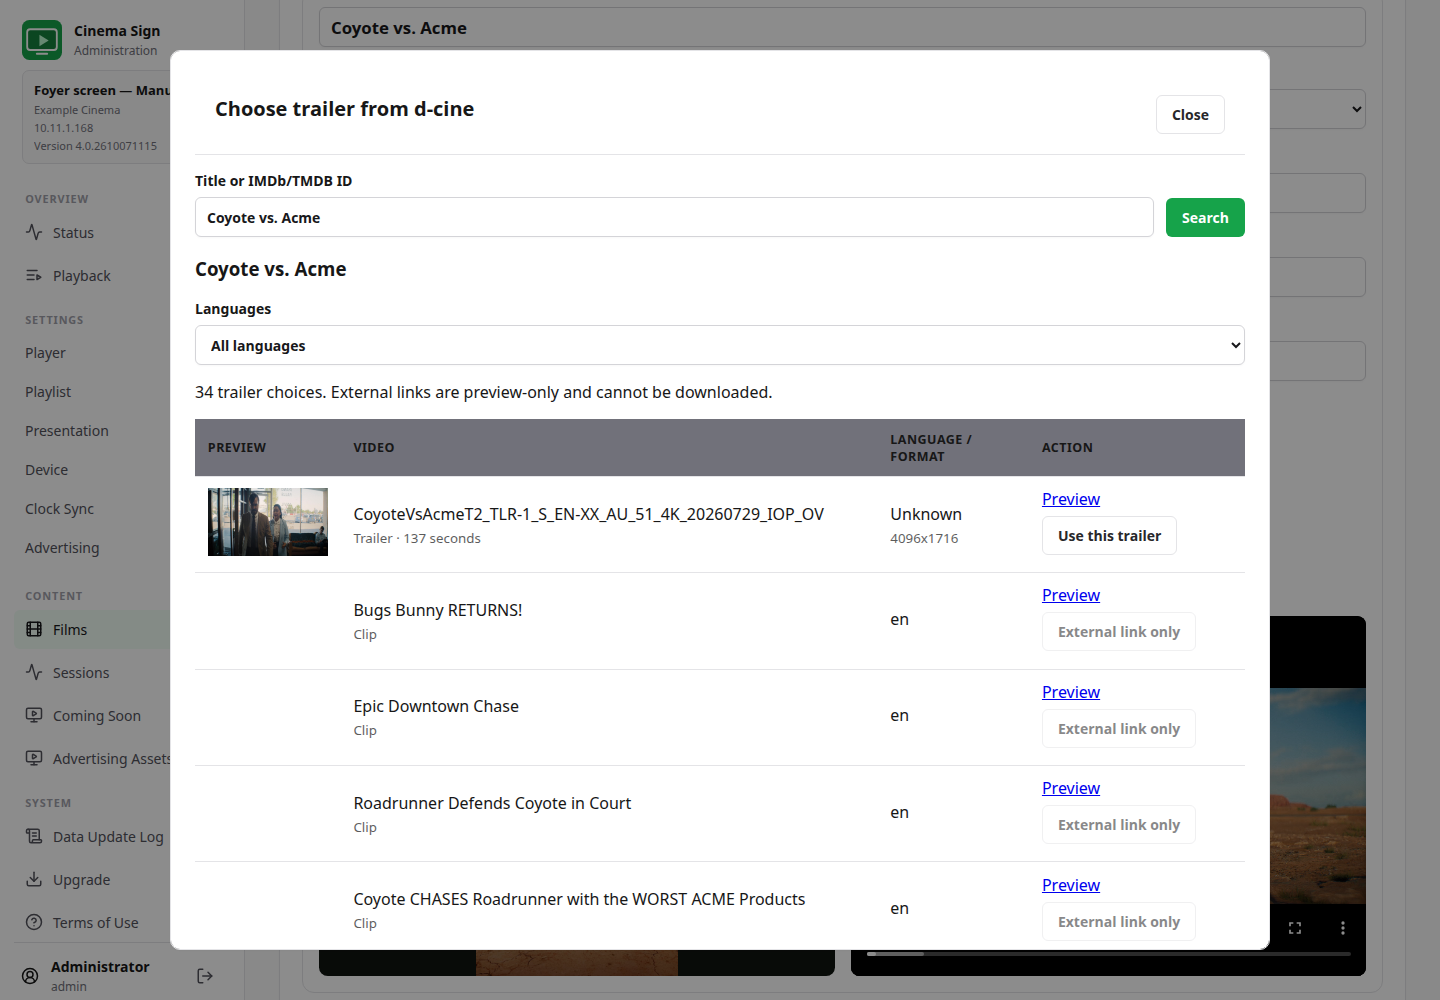
Your explicit trailer choice is retained through automatic scans. Where automatic trailer lookup is enabled, it runs once daily for eligible films without a cached trailer. It is useful for filling gaps, but you should still check the result.
Upload files from your computer or phone
- Select the film, then select Upload poster or Upload trailer.
- Choose the intended image or video file on your device.
- Wait for the upload progress to finish.
- Check the cached preview and physical screen. For video, confirm it plays on the actual Android box.
Use a normal image format for posters and a compatible video file, preferably MP4, for trailers. A filename ending in MP4 does not by itself guarantee that the device supports the video's encoding. Avoid using a large video file merely because it is available; choose quality appropriate to the display and player's storage.
Read the film editor
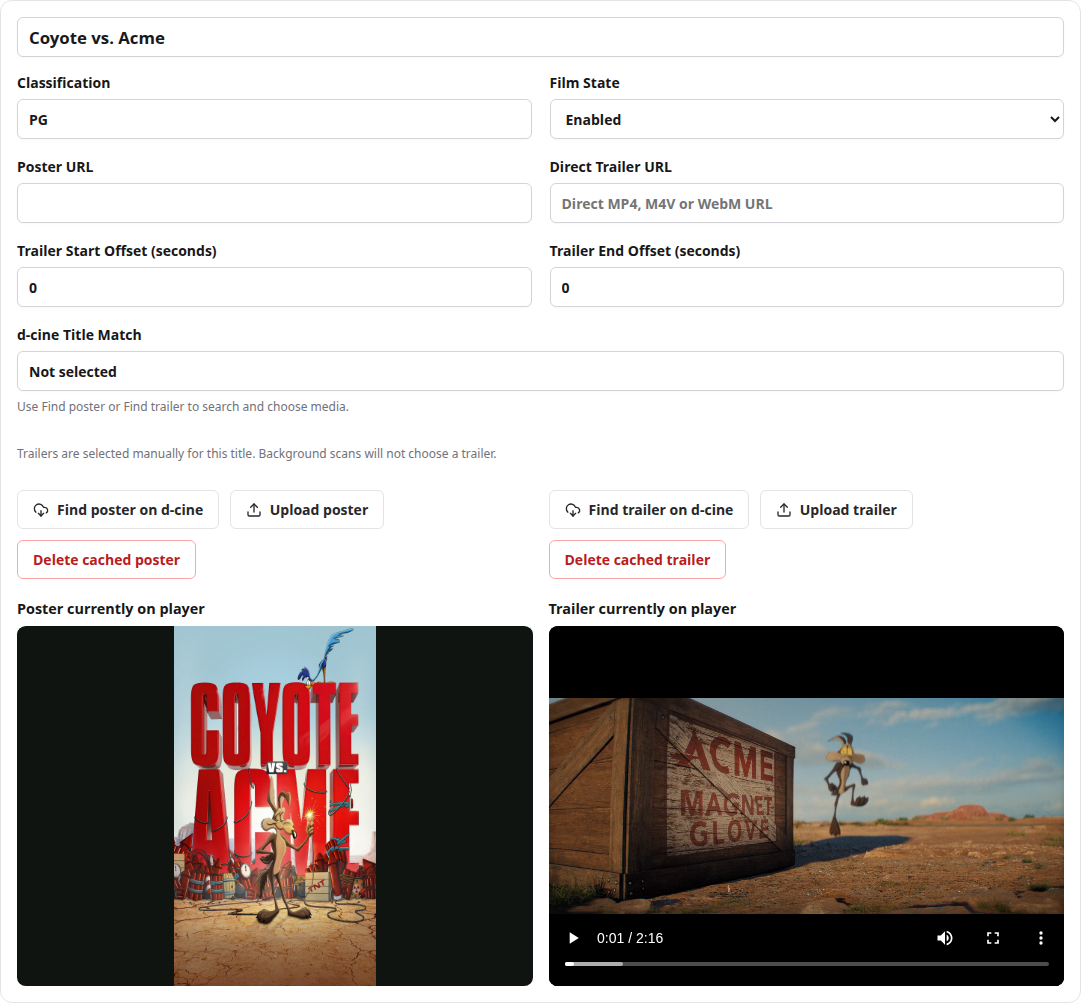
- Enabled / Disabled: decides whether the title can be used.
- Disable Poster / Disable Trailer: stops that type of media without necessarily disabling the whole film.
- Classification: check the correct rating, then select its regional artwork in Presentation.
- Trailer Start Offset: skips seconds at the beginning. End Offset: removes seconds from the end. Preview the resulting cut.
- Playback Weight: appears with the Enabled films selection formula. It changes relative frequency rather than making a fixed sequence.
- Local overrides: imported values may be changed locally and retained through imports. Reset to the imported value when you want the provider to control that field again.