


Add and schedule advertising
Advertising has two parts: the assets that can be shown, and the settings that decide when this player shows them. Adding an asset does not automatically turn advertising on.
Add an image advert
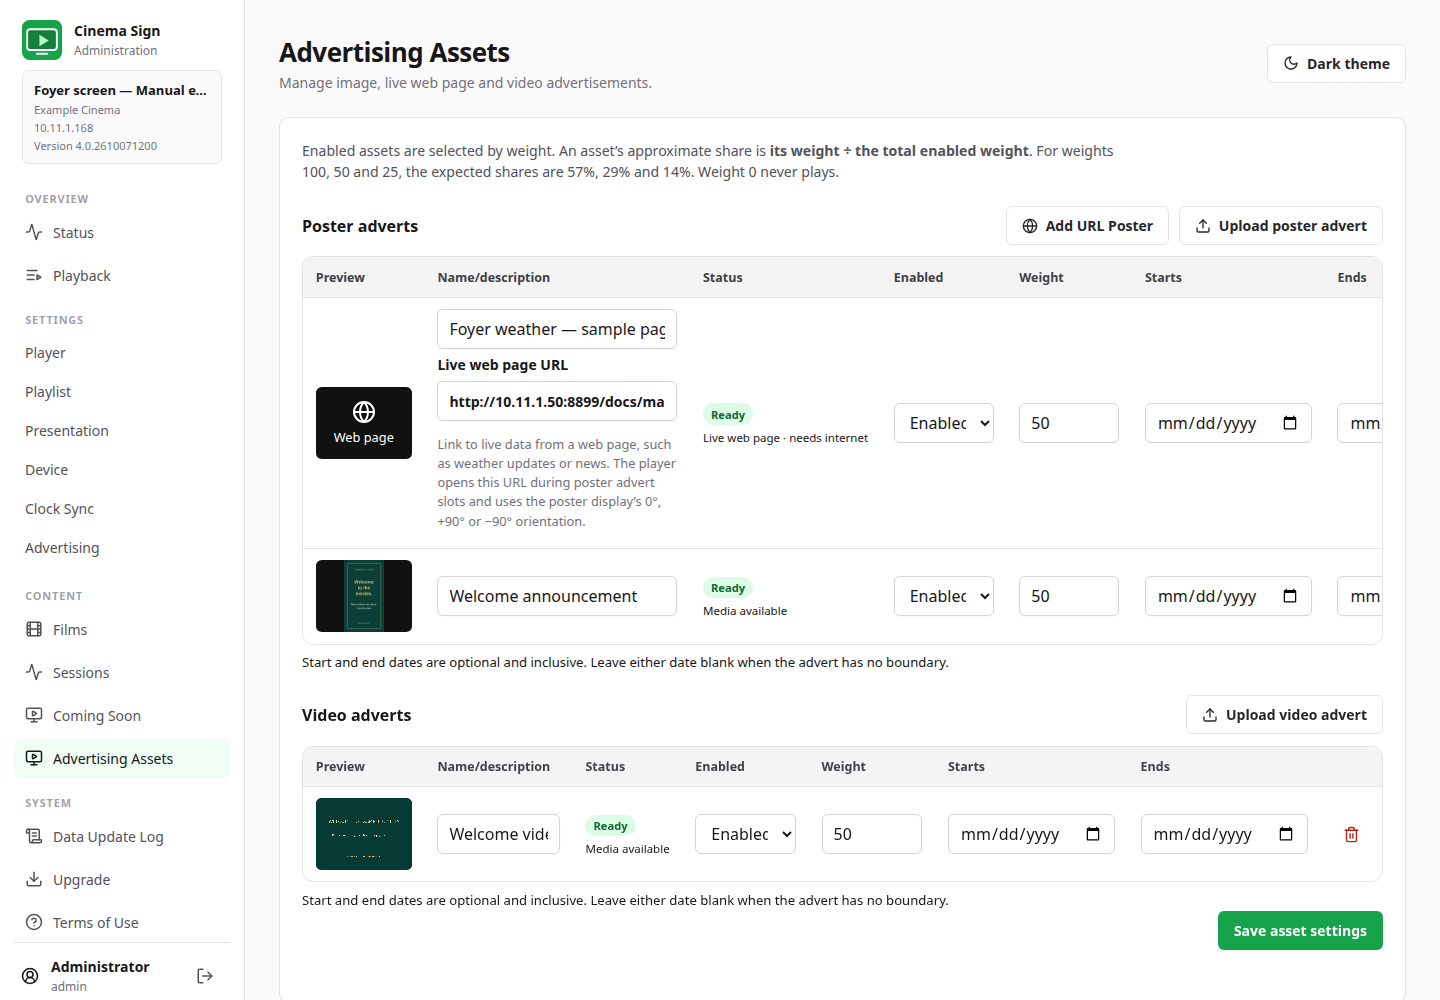
- Open Advertising Assets.
- Under Poster adverts, choose the upload button and select the image file.
- Wait for the upload to finish, then check the preview.
- Give it a meaningful name, such as “Membership offer — October”.
- Set enabled state, weight and any campaign dates.
- Select Save asset settings.

Add a video advert
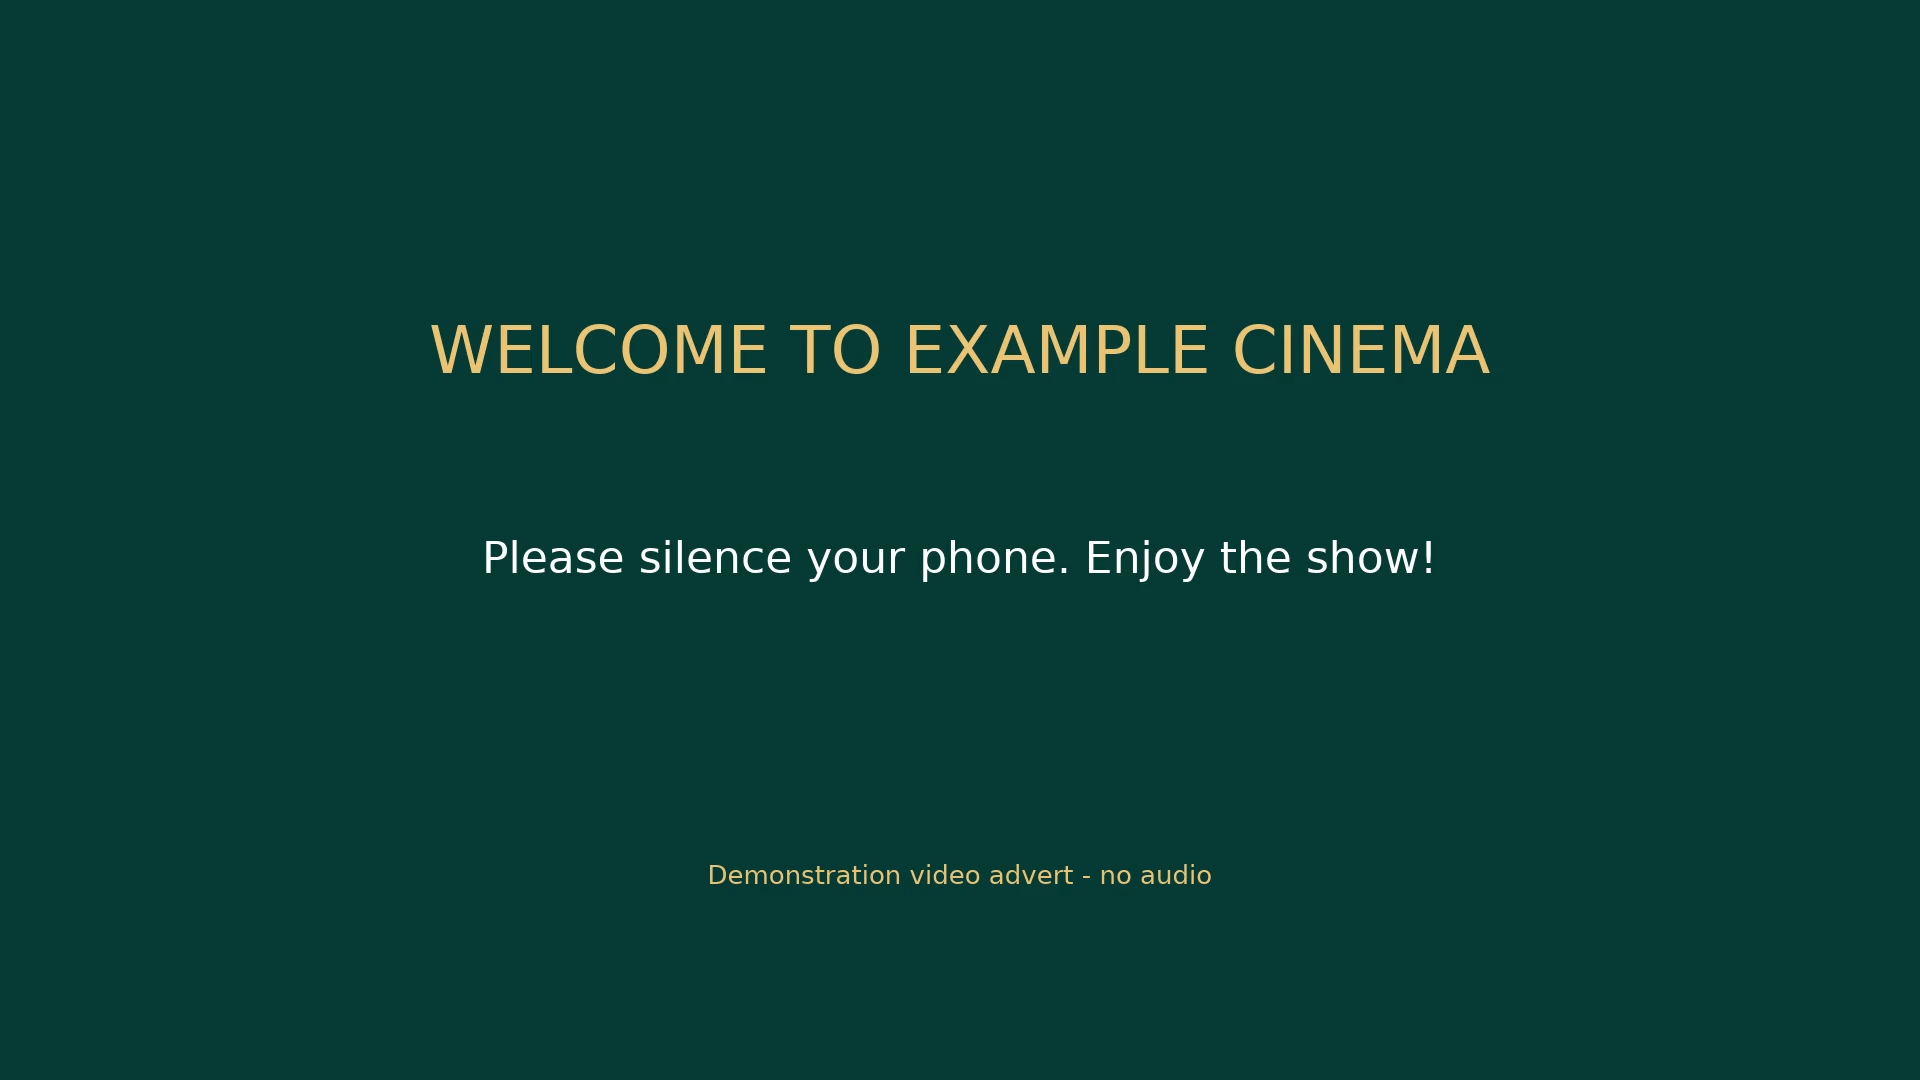
- Under Video adverts, upload a compatible video file.
- Wait for completion and check its preview.
- Set name, enabled state, weight and dates, then save asset settings.
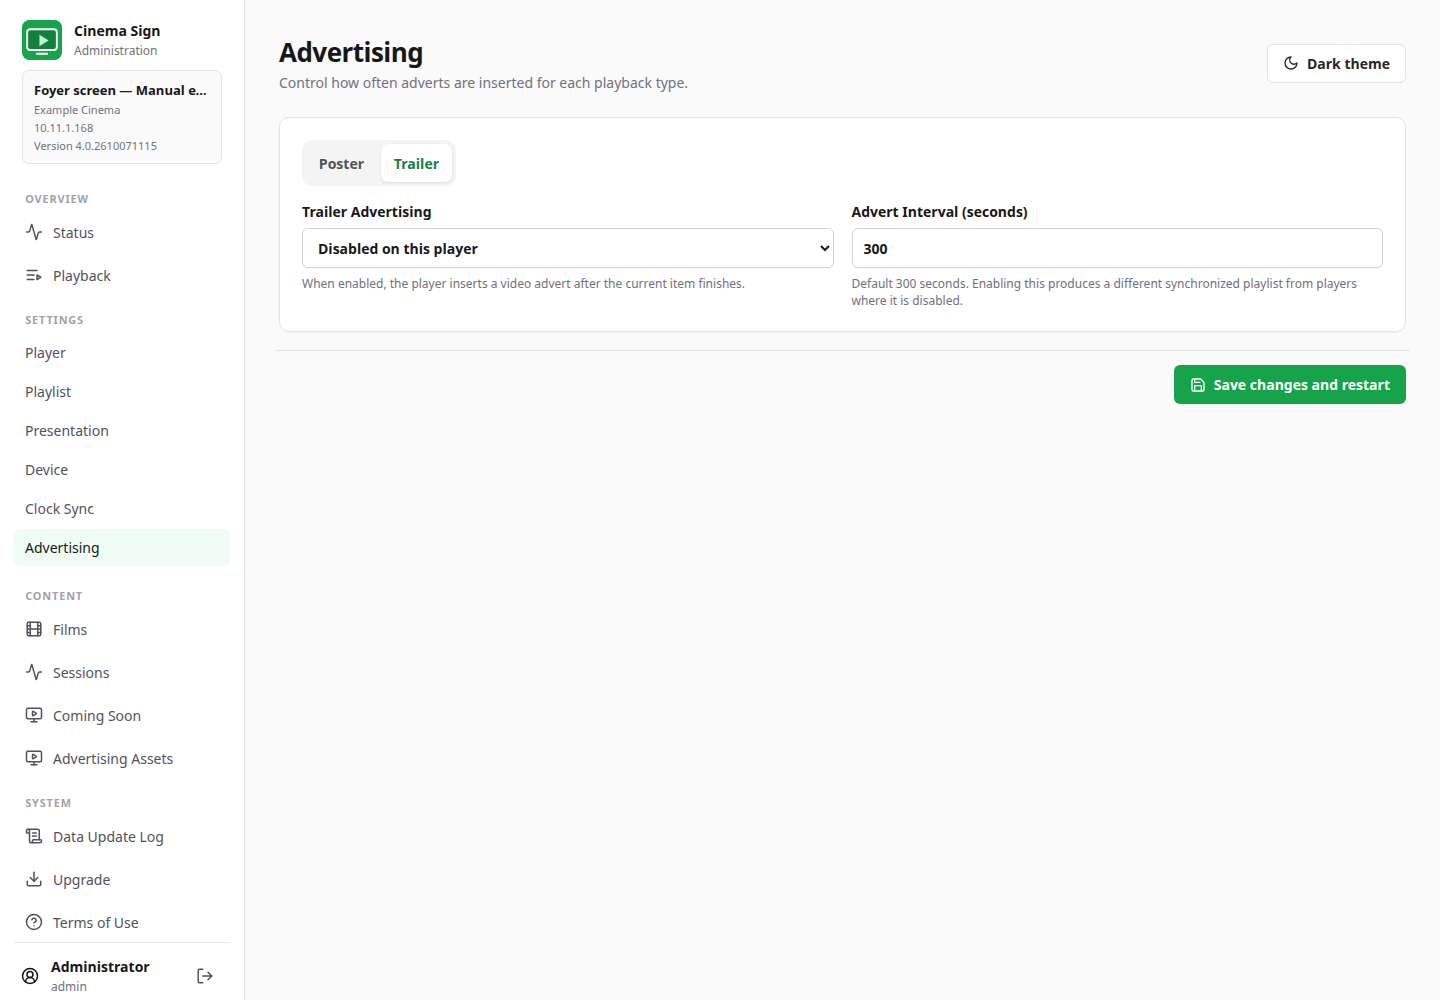
- Enable Trailer Advertising on the intended trailer player.
- Watch a real cycle to confirm picture, audio and return to normal trailers.
Enable advertising on this player
- Open Settings → Playlist and choose Playback Order → Clock-synchronized. Save.
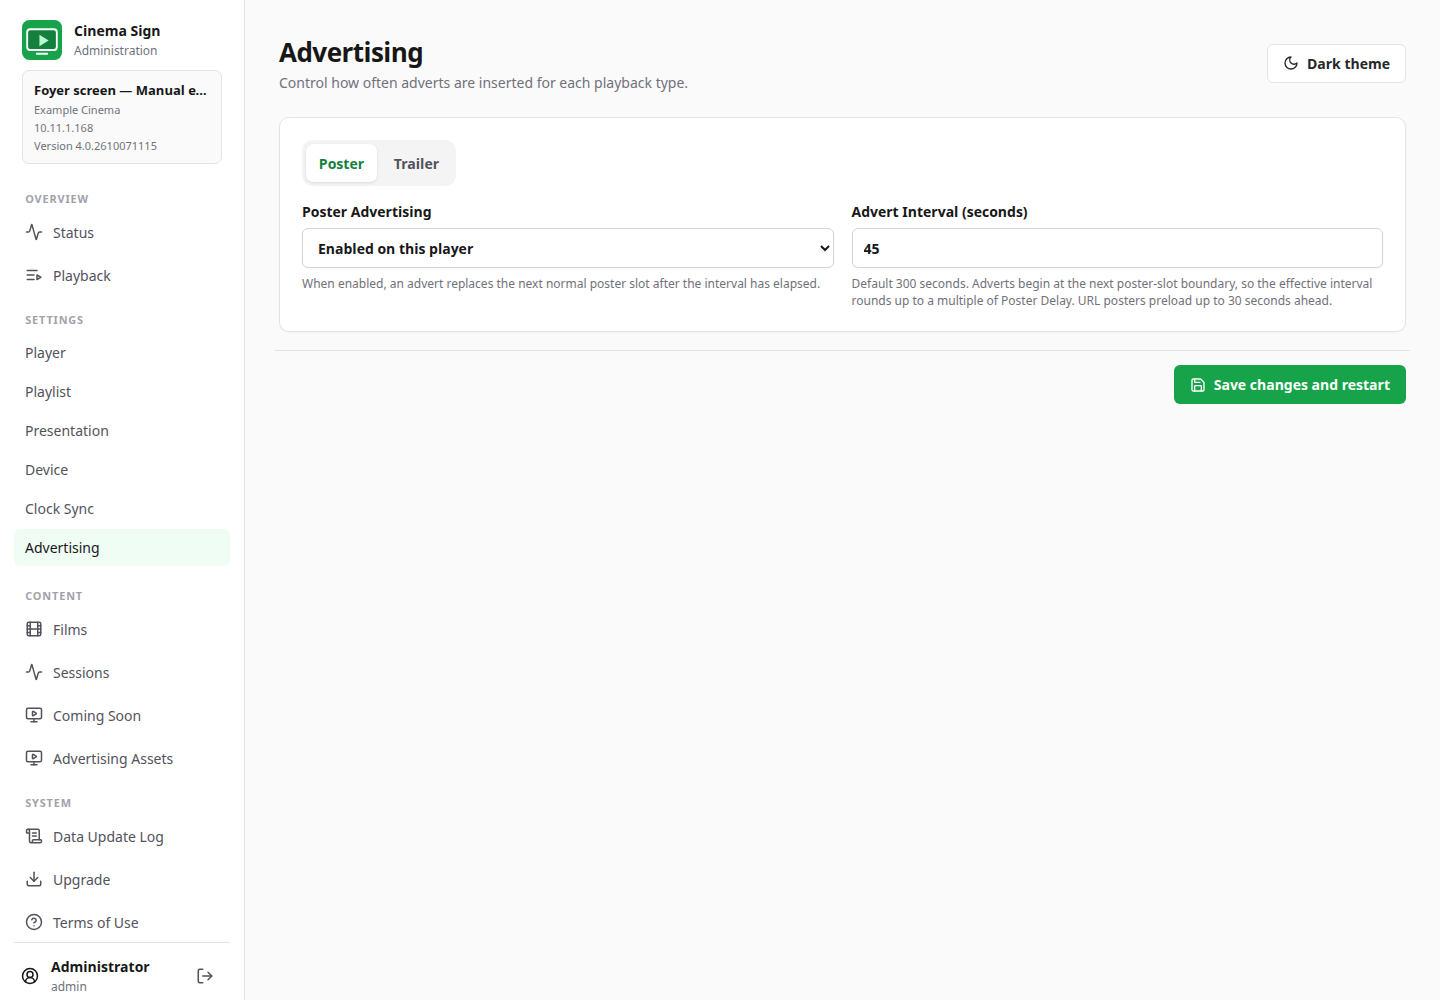
- Open Settings → Advertising.
- Choose Poster for image/URL poster adverts or Trailer for video adverts.
- Set the appropriate advertising option to Enabled on this player.
- Enter the advert interval in seconds and save.
- Check Playback → Up Next and the physical screen.
Understand weight and dates
Weight controls an advert's approximate share among eligible adverts of the same type. A weight of 0 never plays. If three adverts have weights 100, 50 and 25, their expected shares are about 57%, 29% and 14%. These are relative opportunities, not a guaranteed fixed sequence.
Start and End dates are optional and inclusive. Leaving Start blank allows the campaign before any end boundary; leaving End blank gives it no end date. Check the player's date, especially for a time-limited promotion.
A disabled asset, weight 0, expired campaign, missing file or invalid URL prevents that advert from playing. The Ready indicator means the asset is viable; it does not prove it is scheduled in the current playlist.
Understand the interval
Poster intervals are measured from advert start to advert start and round up to a poster-slot boundary. With Poster Delay 7 seconds and an advert interval of 10 seconds, the advert starts every 14 seconds and occupies one 7-second slot.
For a less frequent campaign, use a longer interval, such as the normal 300-second default. Setting the interval to one poster slot can make every slot an advert. Use a short interval only while testing, then restore the cinema's intended value.
A trailer advert begins after the current video finishes. Its effective interval therefore depends on the videos' lengths.
Remove an advert
Disable the asset and save if you may need it again. Use its Delete button only when you intend to remove it permanently; confirm the deletion dialog. Uploaded media is removed, while a URL poster's saved link is removed.